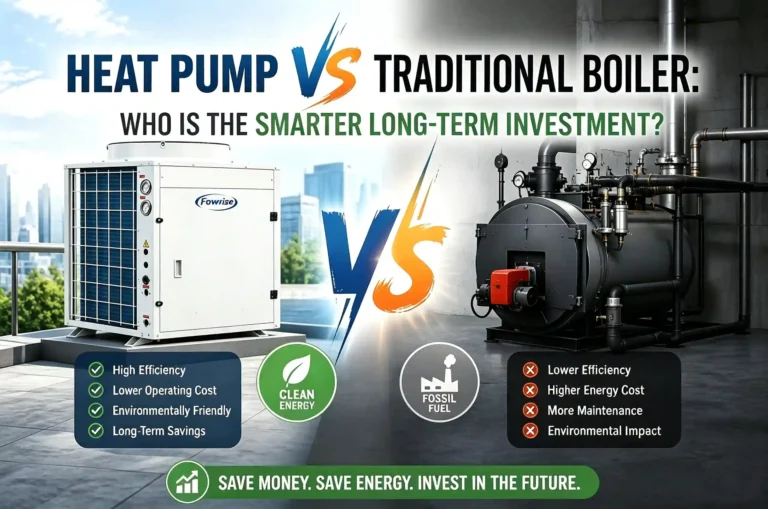
Heat pumps are highly acclaimed for their energy efficiency and eco-friendliness. However, there is a well-known adage in the HVAC industry: “Success is 30% product and 70% installation.”
Professional, standardized installation is the most critical factor determining a system’s lifespan, energy efficiency, and overall performance. Improper installation can lead to frequent equipment breakdowns, skyrocketing electricity bills, and a shortened service life. This guide outlines the key steps and precautions for achieving a flawless air-source heat pump installation.
1.Optimize Installation Location for Maximum Efficiency
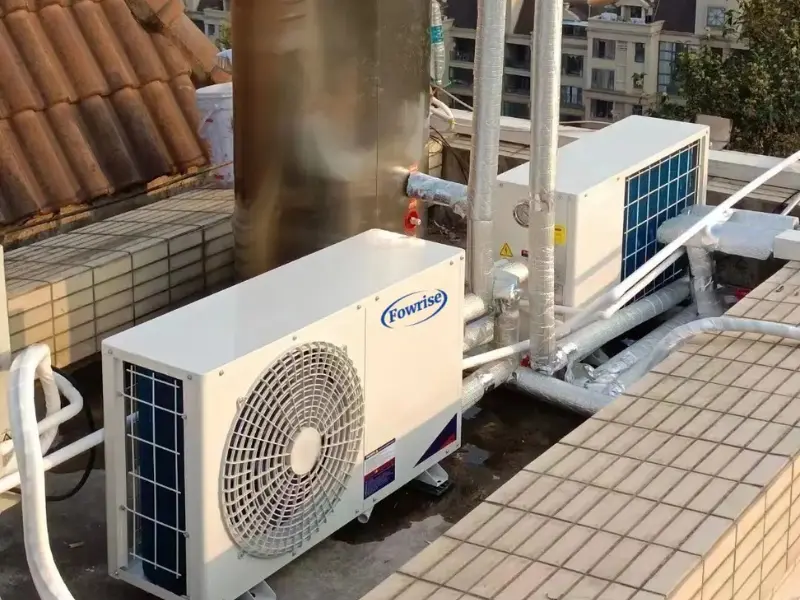
Since heat pumps extract thermal energy from the surrounding air, the outdoor unit must be installed in a well-ventilated area. Installing the unit in fully or semi-enclosed spaces is strictly prohibited. Ensure there is sufficient clearance around the unit for heat dissipation and air intake to prevent airflow short-circuiting; additionally, do not stack debris or obstacles near the unit, as obstructed airflow significantly reduces heating efficiency.
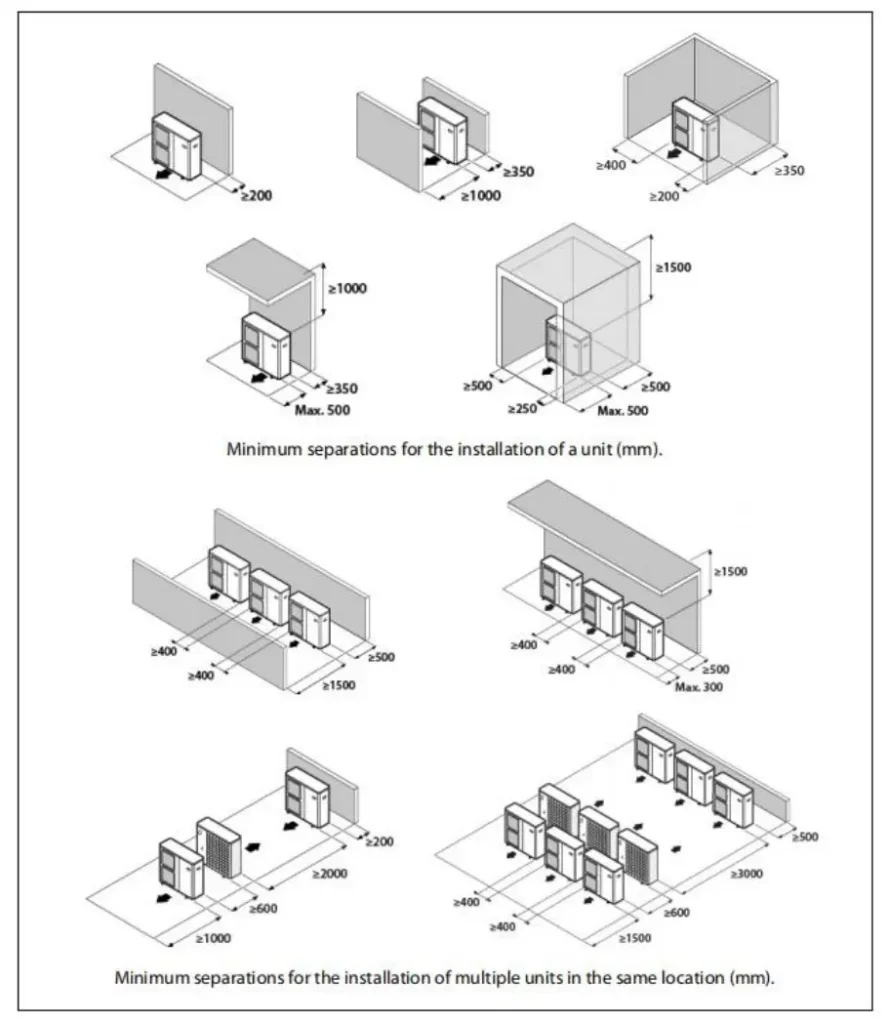
2.Ensure a Stable Foundation and Vibration Damping
A stable foundation is essential. The unit must be mounted on a sturdy steel bracket or concrete base. Wooden bases are strictly prohibited, as wood is prone to rotting over time. Furthermore, professional vibration-damping pads or shock absorbers must be installed between the unit and the base to minimize operating noise and prevent structural resonance.
3.Properly Plan the Drainage System
During winter operation, the unit’s defrost cycle generates significant amounts of water. If the drainage path is poorly designed, accumulated water can easily freeze when temperatures drop below 0°C, clogging the drainpipe and potentially causing serious system failure. Ensure the drainpipe has a proper downward slope (at least 1%). If the drainage system cannot be modified, a regular maintenance plan should be established to promptly clear away defrost runoff.
4.Install an Automatic Air Vent Valve
Air tends to accumulate at the highest points of the water circulation system, creating airlocks that impede heating performance. Be sure to install an automatic air vent valve at the system’s highest point to ensure smooth water flow and optimal heat exchange efficiency.
5.Comprehensive Pipe Insulation
Proper insulation is crucial, especially in cold climates. Exposed pipes lacking adequate insulation are highly susceptible to freezing and bursting. Use high-quality insulation materials (such as Class B1 rubber-plastic foam or polyurethane foam) and ensure all joints and valves are tightly wrapped to prevent heat loss and condensation.
6.Precise Placement of Temperature Sensors
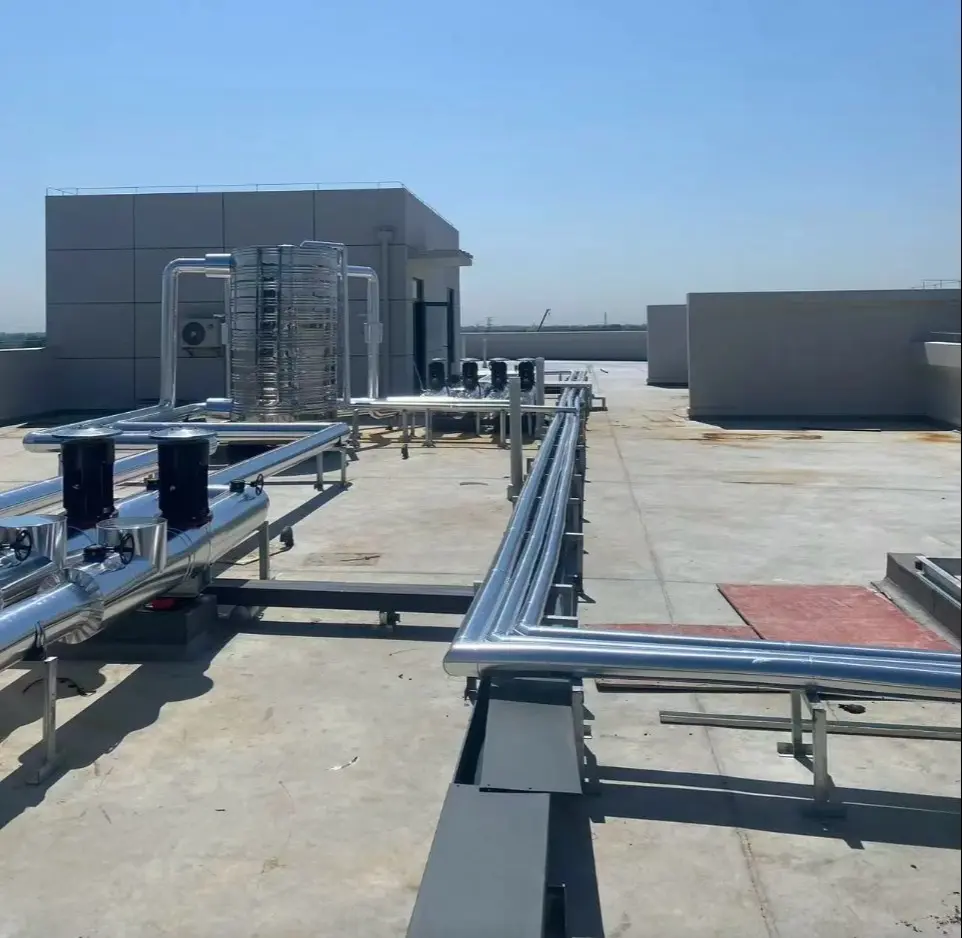
Once installed, the water temperature sensor probe must remain securely inside the water tank’s temperature-sensing thermowell. Do not move or remove it arbitrarily. Improper sensor placement can cause the heater to overheat and may even result in catastrophic damage to the unit.
7.Pre-startup Safety Checklist
Before powering up the system, perform a comprehensive inspection:
• Confirm that all mechanical and electrical control systems are correctly installed.
• Check that all piping and wiring comply with technical specifications.
• Ensure the water circuit is unobstructed and completely free of leaks.
• Verify that the power supply voltage matches the unit’s rated voltage.
• Inspect the unit’s air inlet and outlet to ensure there are no obstructions.
• Verify the correct installation of the safety valve at the water tank inlet.
• Confirm that the automatic air vent valve is functioning properly.
• Test the effectiveness of the earth leakage protection device.
• Ensure all terminal equipment is connected according to the recommended engineering plan.
8.System Trial Run and Final Acceptance
After installation, initiate a trial run and monitor the following parameters:
• Test the controller buttons and switches for responsive operation.
• Verify that water circulation and flow rates are normal.
• Check that the heating mode operates smoothly and achieves the target water temperature.
• Listen for any abnormal noises, excessive wind noise, or vibrations that might disturb the surrounding environment.
• Perform a leak test to ensure there are no refrigerant leaks.
• Confirm the compressor’s 3-minute startup delay protection function is active.
If all the above parameters are within the normal range, congratulations!the heat pump installation project complete.